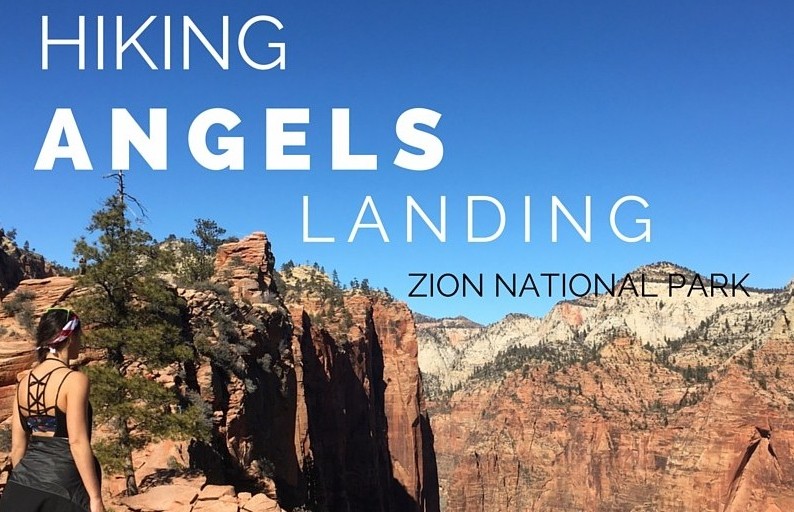
Most of my favorite hikes involve doing something a little crazy, so I knew I had to add hiking Angels Landing to my list. For only hiking 6 miles, Angels Landing packs a punch when it comes to views AND exposure.
Most people have heard about Angels Landing by now, the hike is one of the most popular hikes in Zion National Park (and probably the whole US). The popularity comes from its famous chain section that reaches the summit and the unfortunate deaths that have happened there. But don’t let this deter you from doing the hike. If you show up prepared and pay attention to what you are doing, you won’t have any trouble.

Stats for Angels Landing:
Elevation Gain: 1,488 feet
Distance: 5 miles
The Permit
Yes, you will need a permit for hiking Angels Landing. You can grab it here.
The Hike
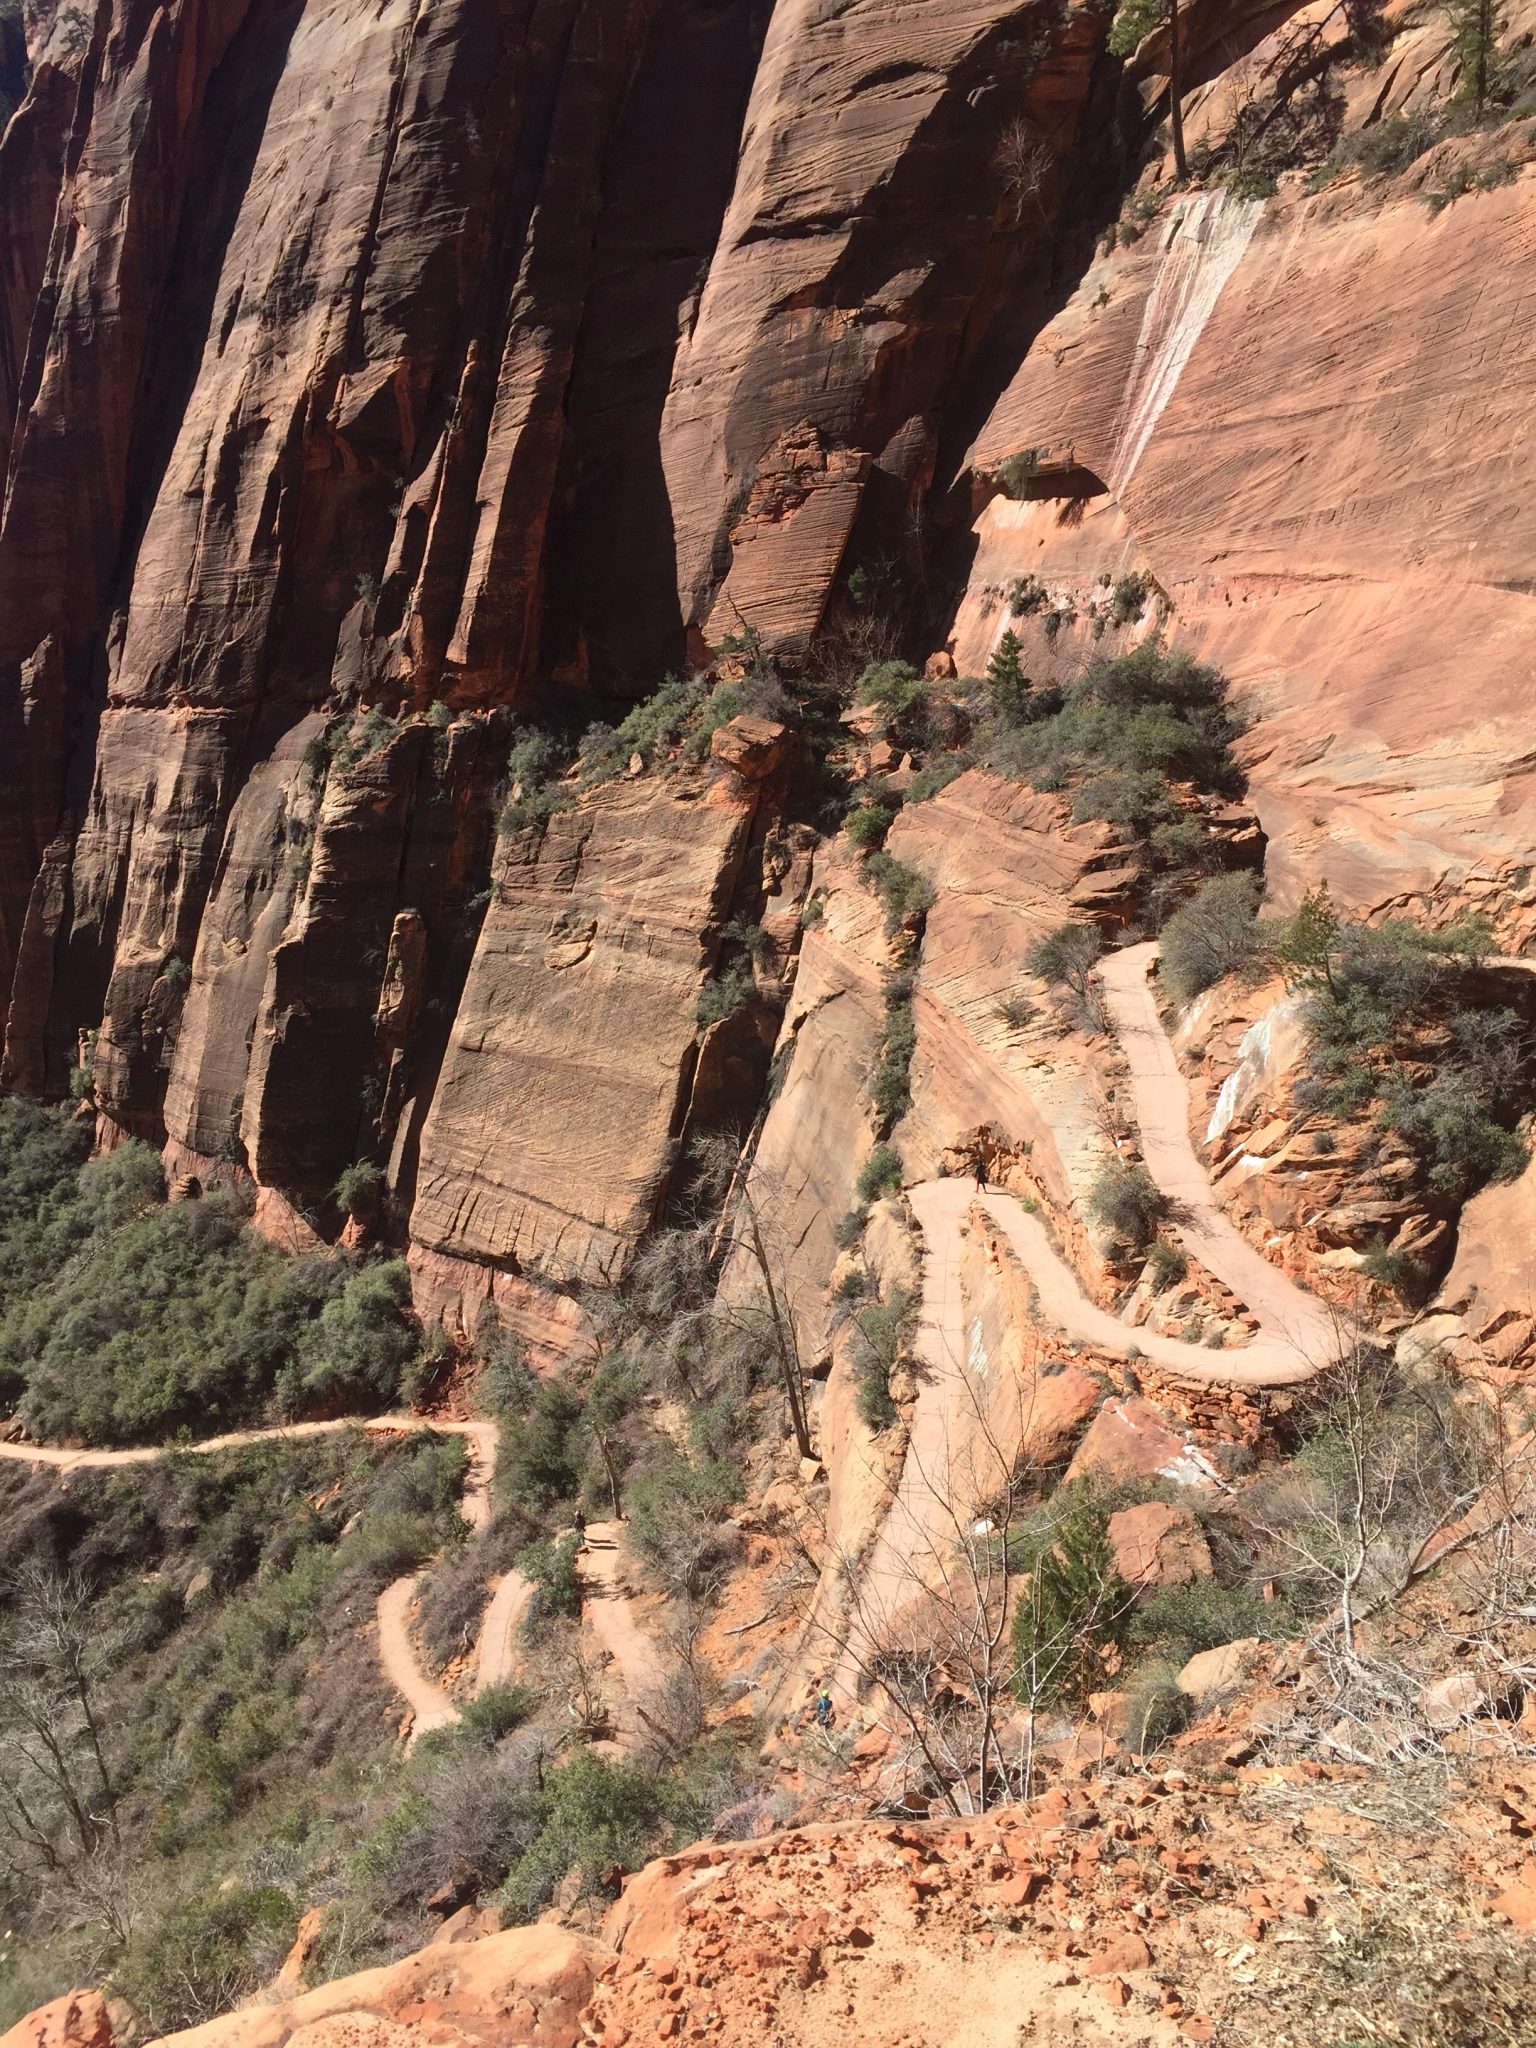
While hiking Angels Lading, the first two miles are known as the West Rim Trail. It starts out at the Grotto drop off point on an easy paved path and slowly turns into a series of steep switchbacks up the mountain. Eventually, you reach Scouts Lookout, the flat rocky platform before attempting the real Angels Landing or “The Scramble”.
Scout’s Lookout
Scout’s Lookout offers your first set of amazing views over Zion, and some may think this is actually the summit. However, if you look up and to the right, you will see a much higher ridge, that seems impossible to get to.. spoiler, it’s not. This higher ridge is the actual Angels Landing, and most people that are unwilling to attempt getting there turnaround at Scout’s.
Side note: Just because this isn’t the summit, doesn’t mean you can goof around. Be careful on Scout’s Lookout, although it looks flat and harmless, the last hiker to die was at this very spot.

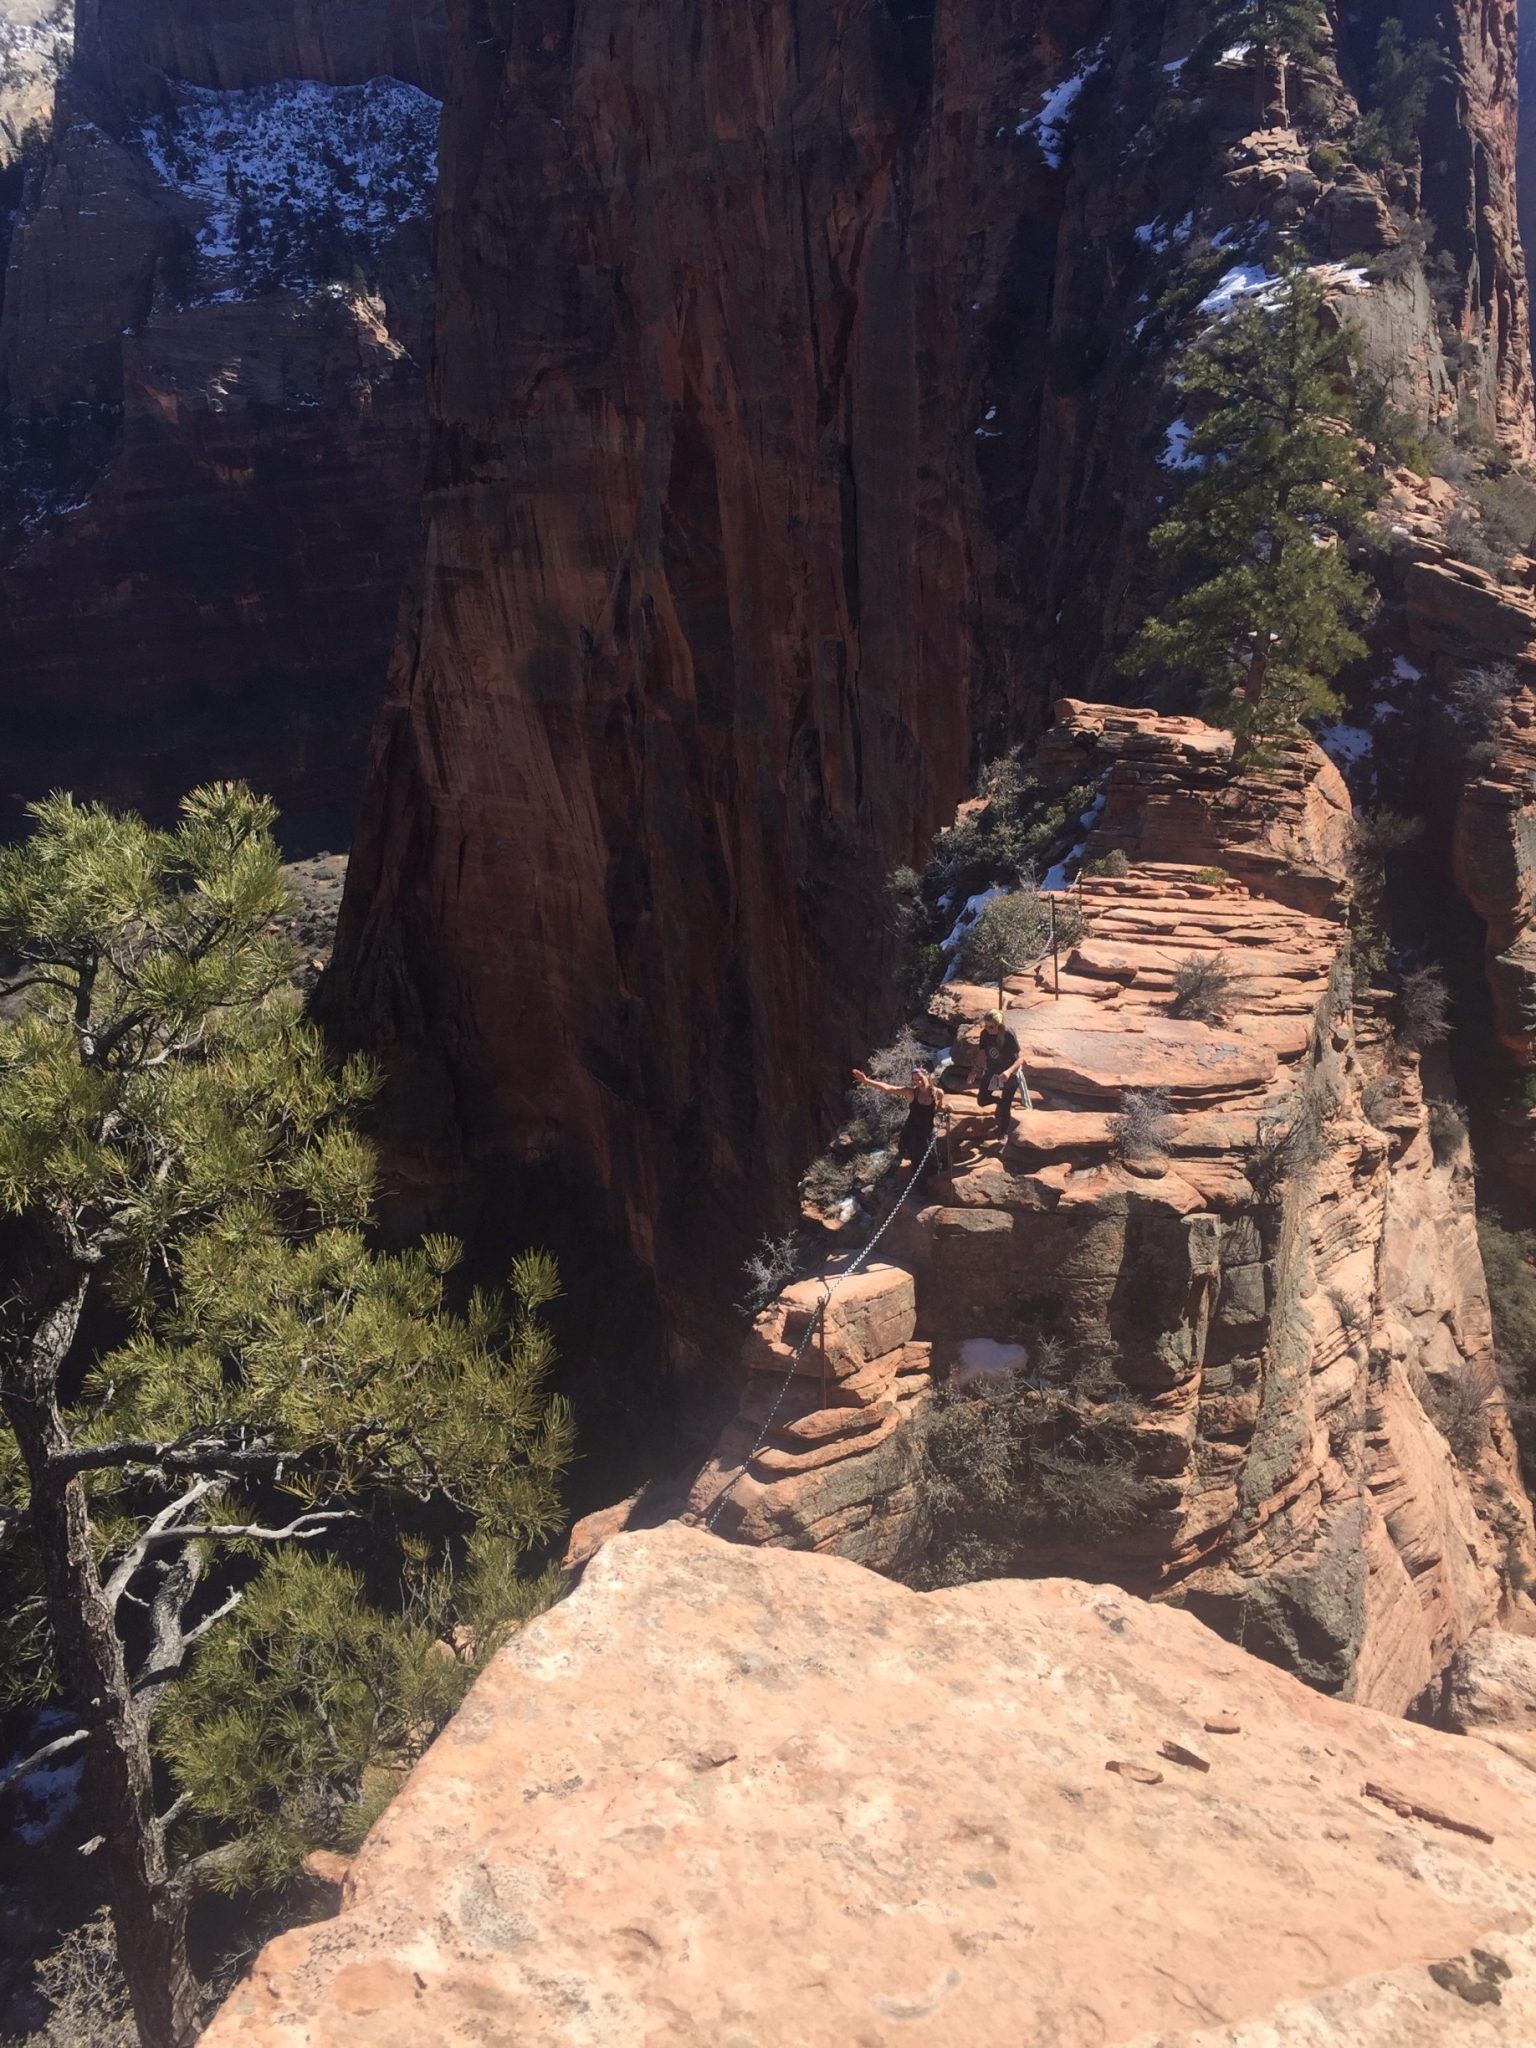
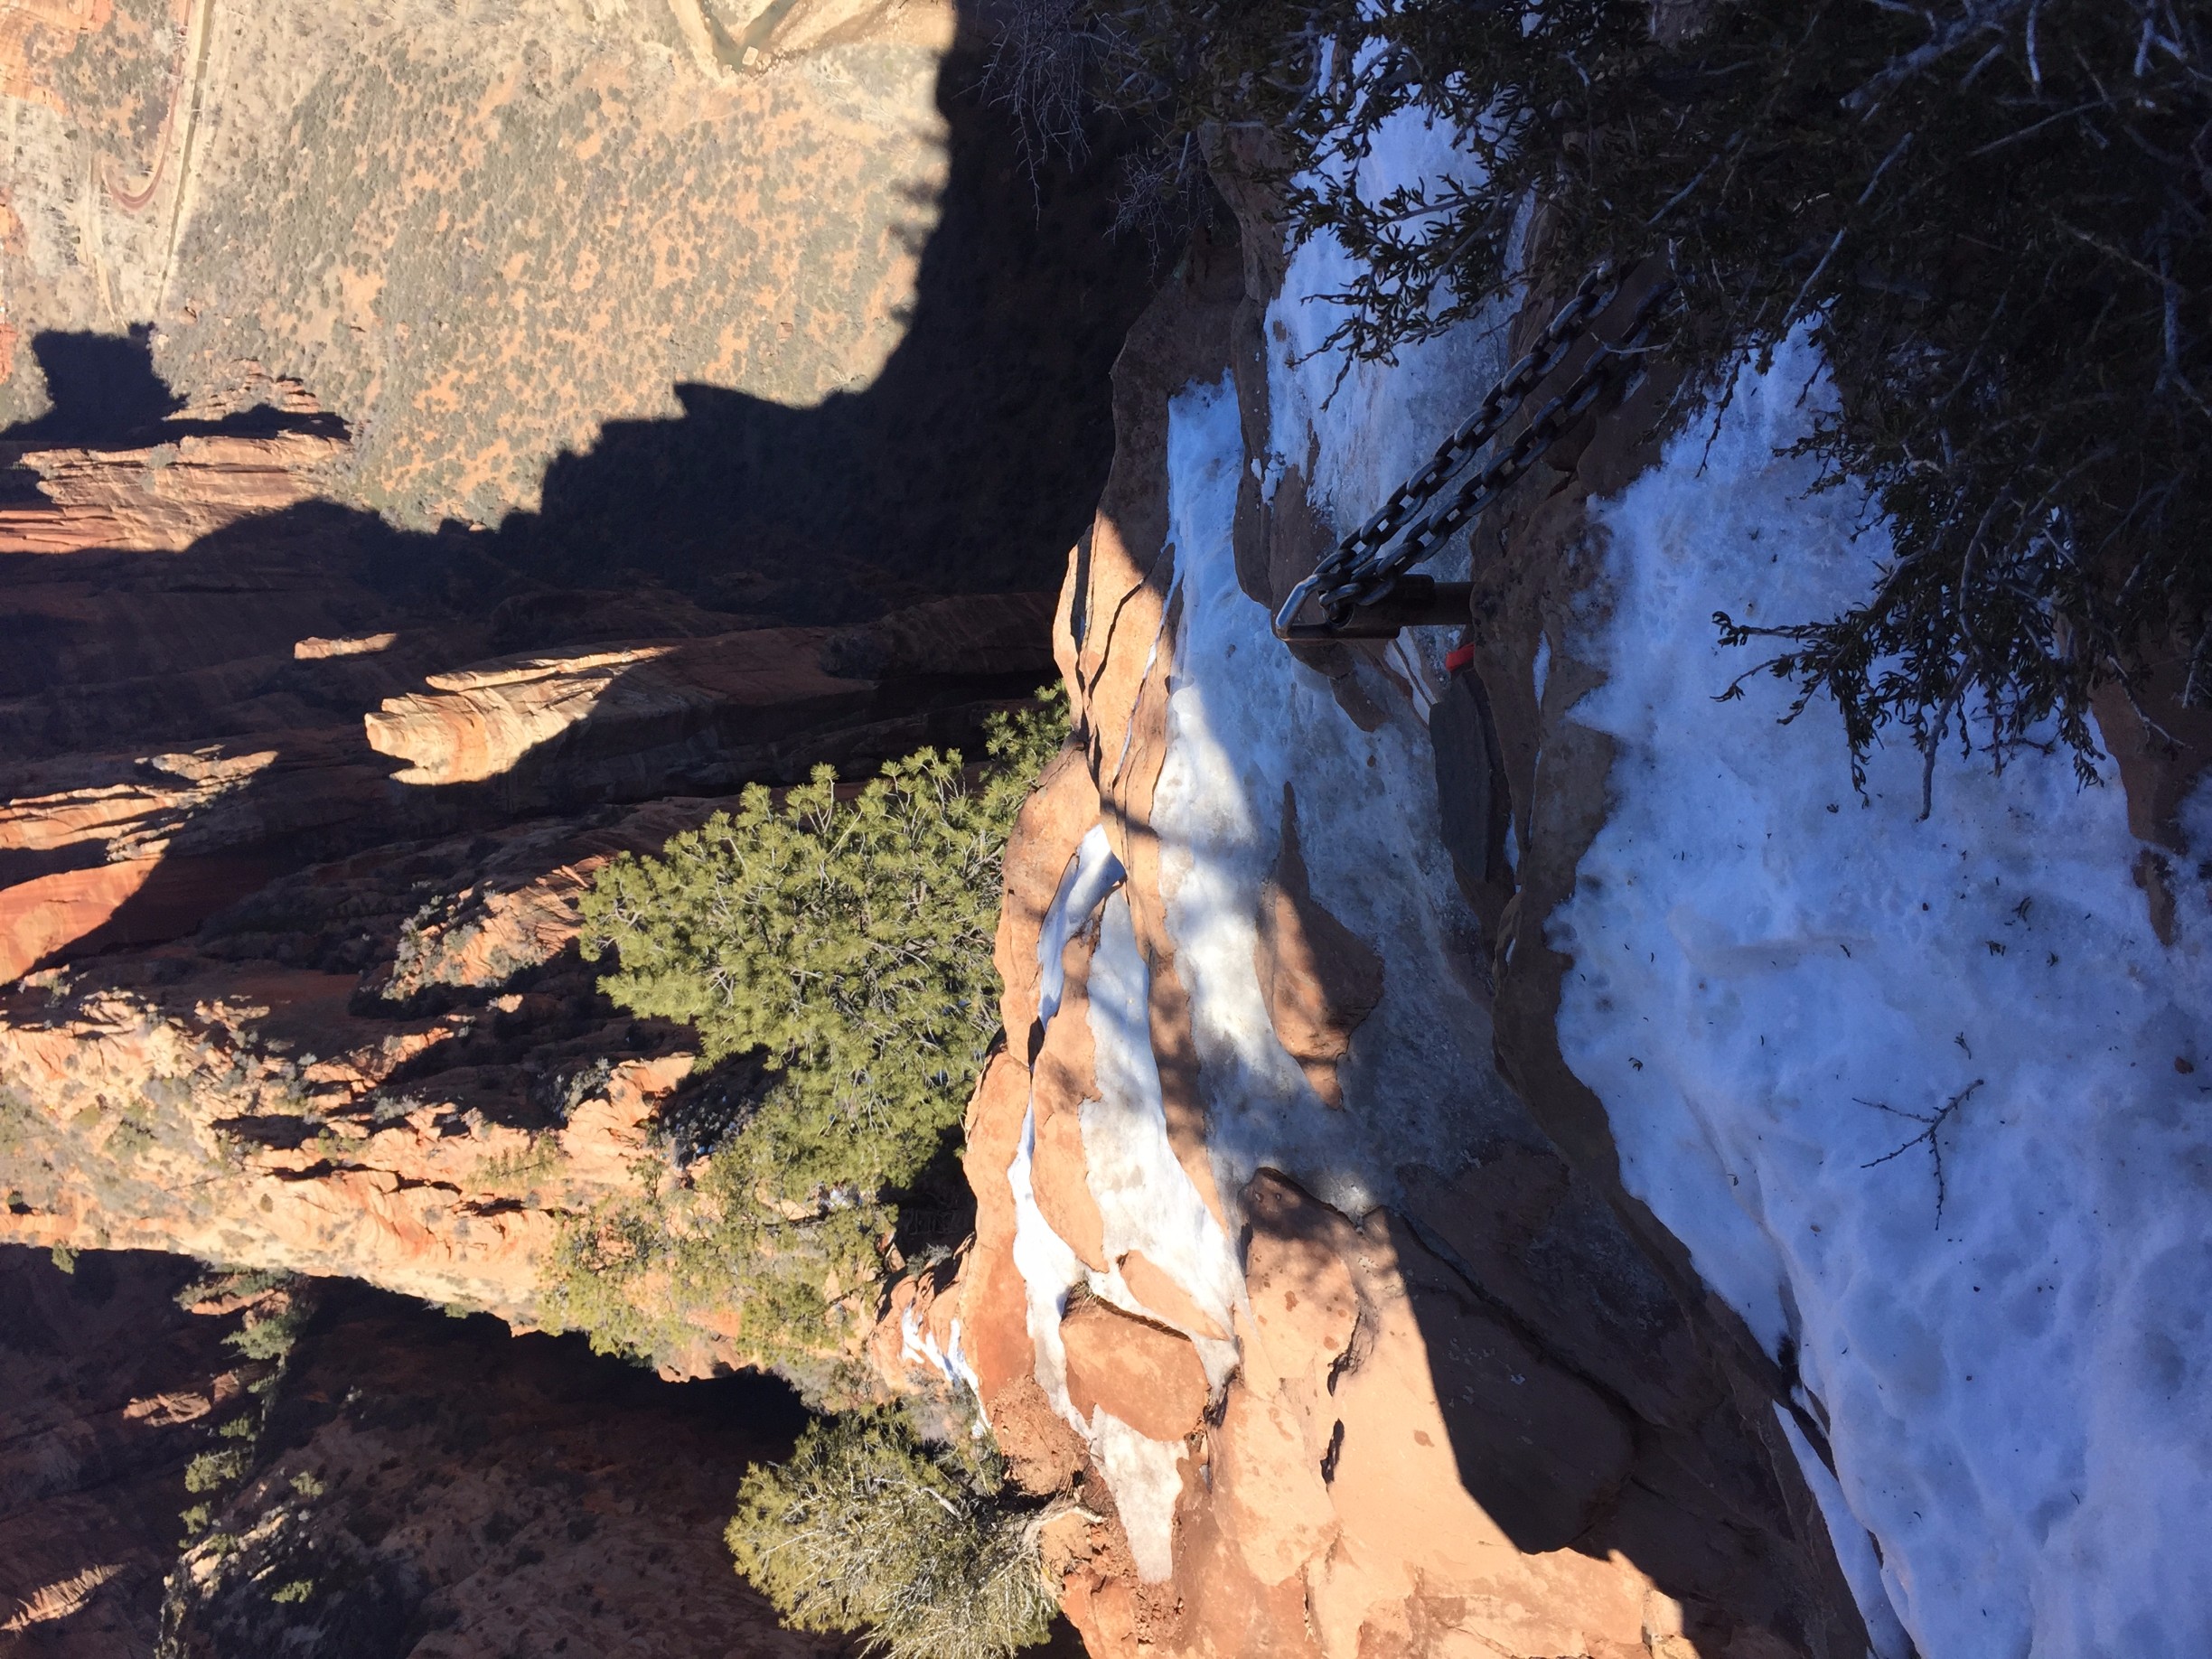
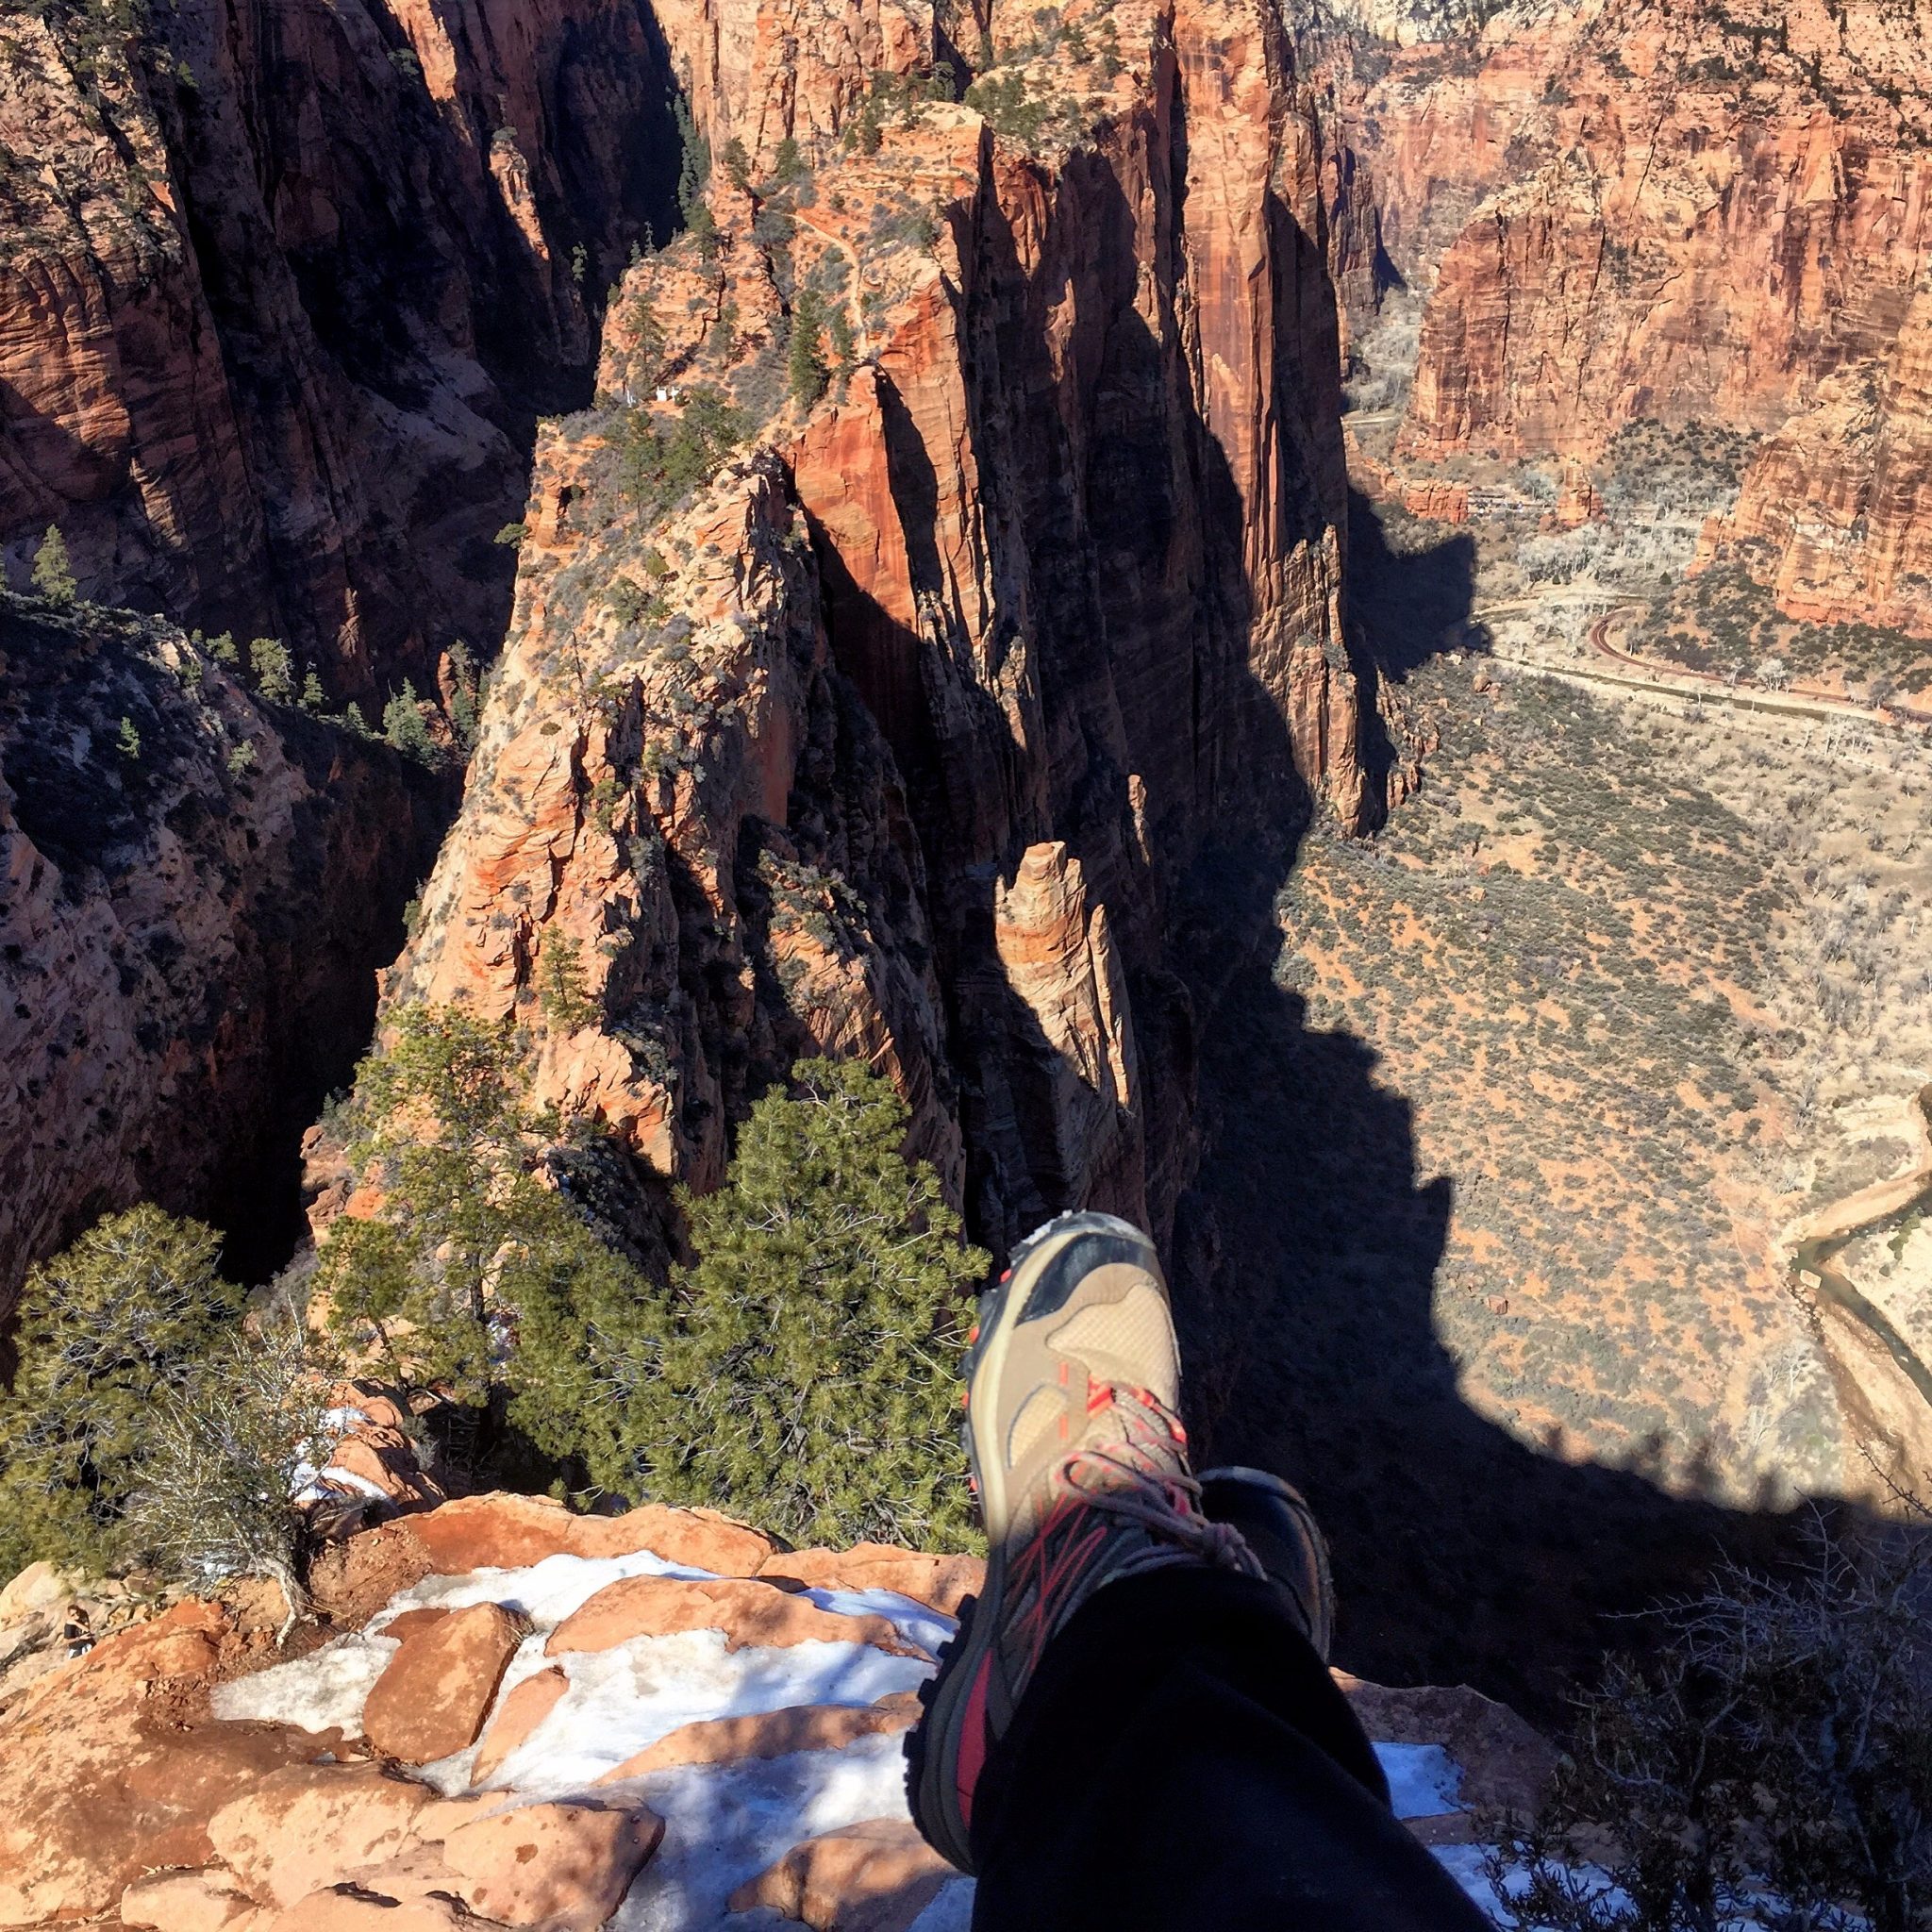
The Scramble
The Scramble (or the Angels Landing Trail) is the last .5 miles of the hike filled with steep drop offs and narrow paths. Start out by crossing this narrow rock bridge with drops 1200 feet on one side and 800 feet on the other.. a 90 degree drop with nothing to stop you. I don’t get afraid of heights, but even I had to talk to myself during this one. This bridge is the scariest part.

Next, there’s a steep rock wall where you will have to use mostly arm strength to pull yourself up with chains.
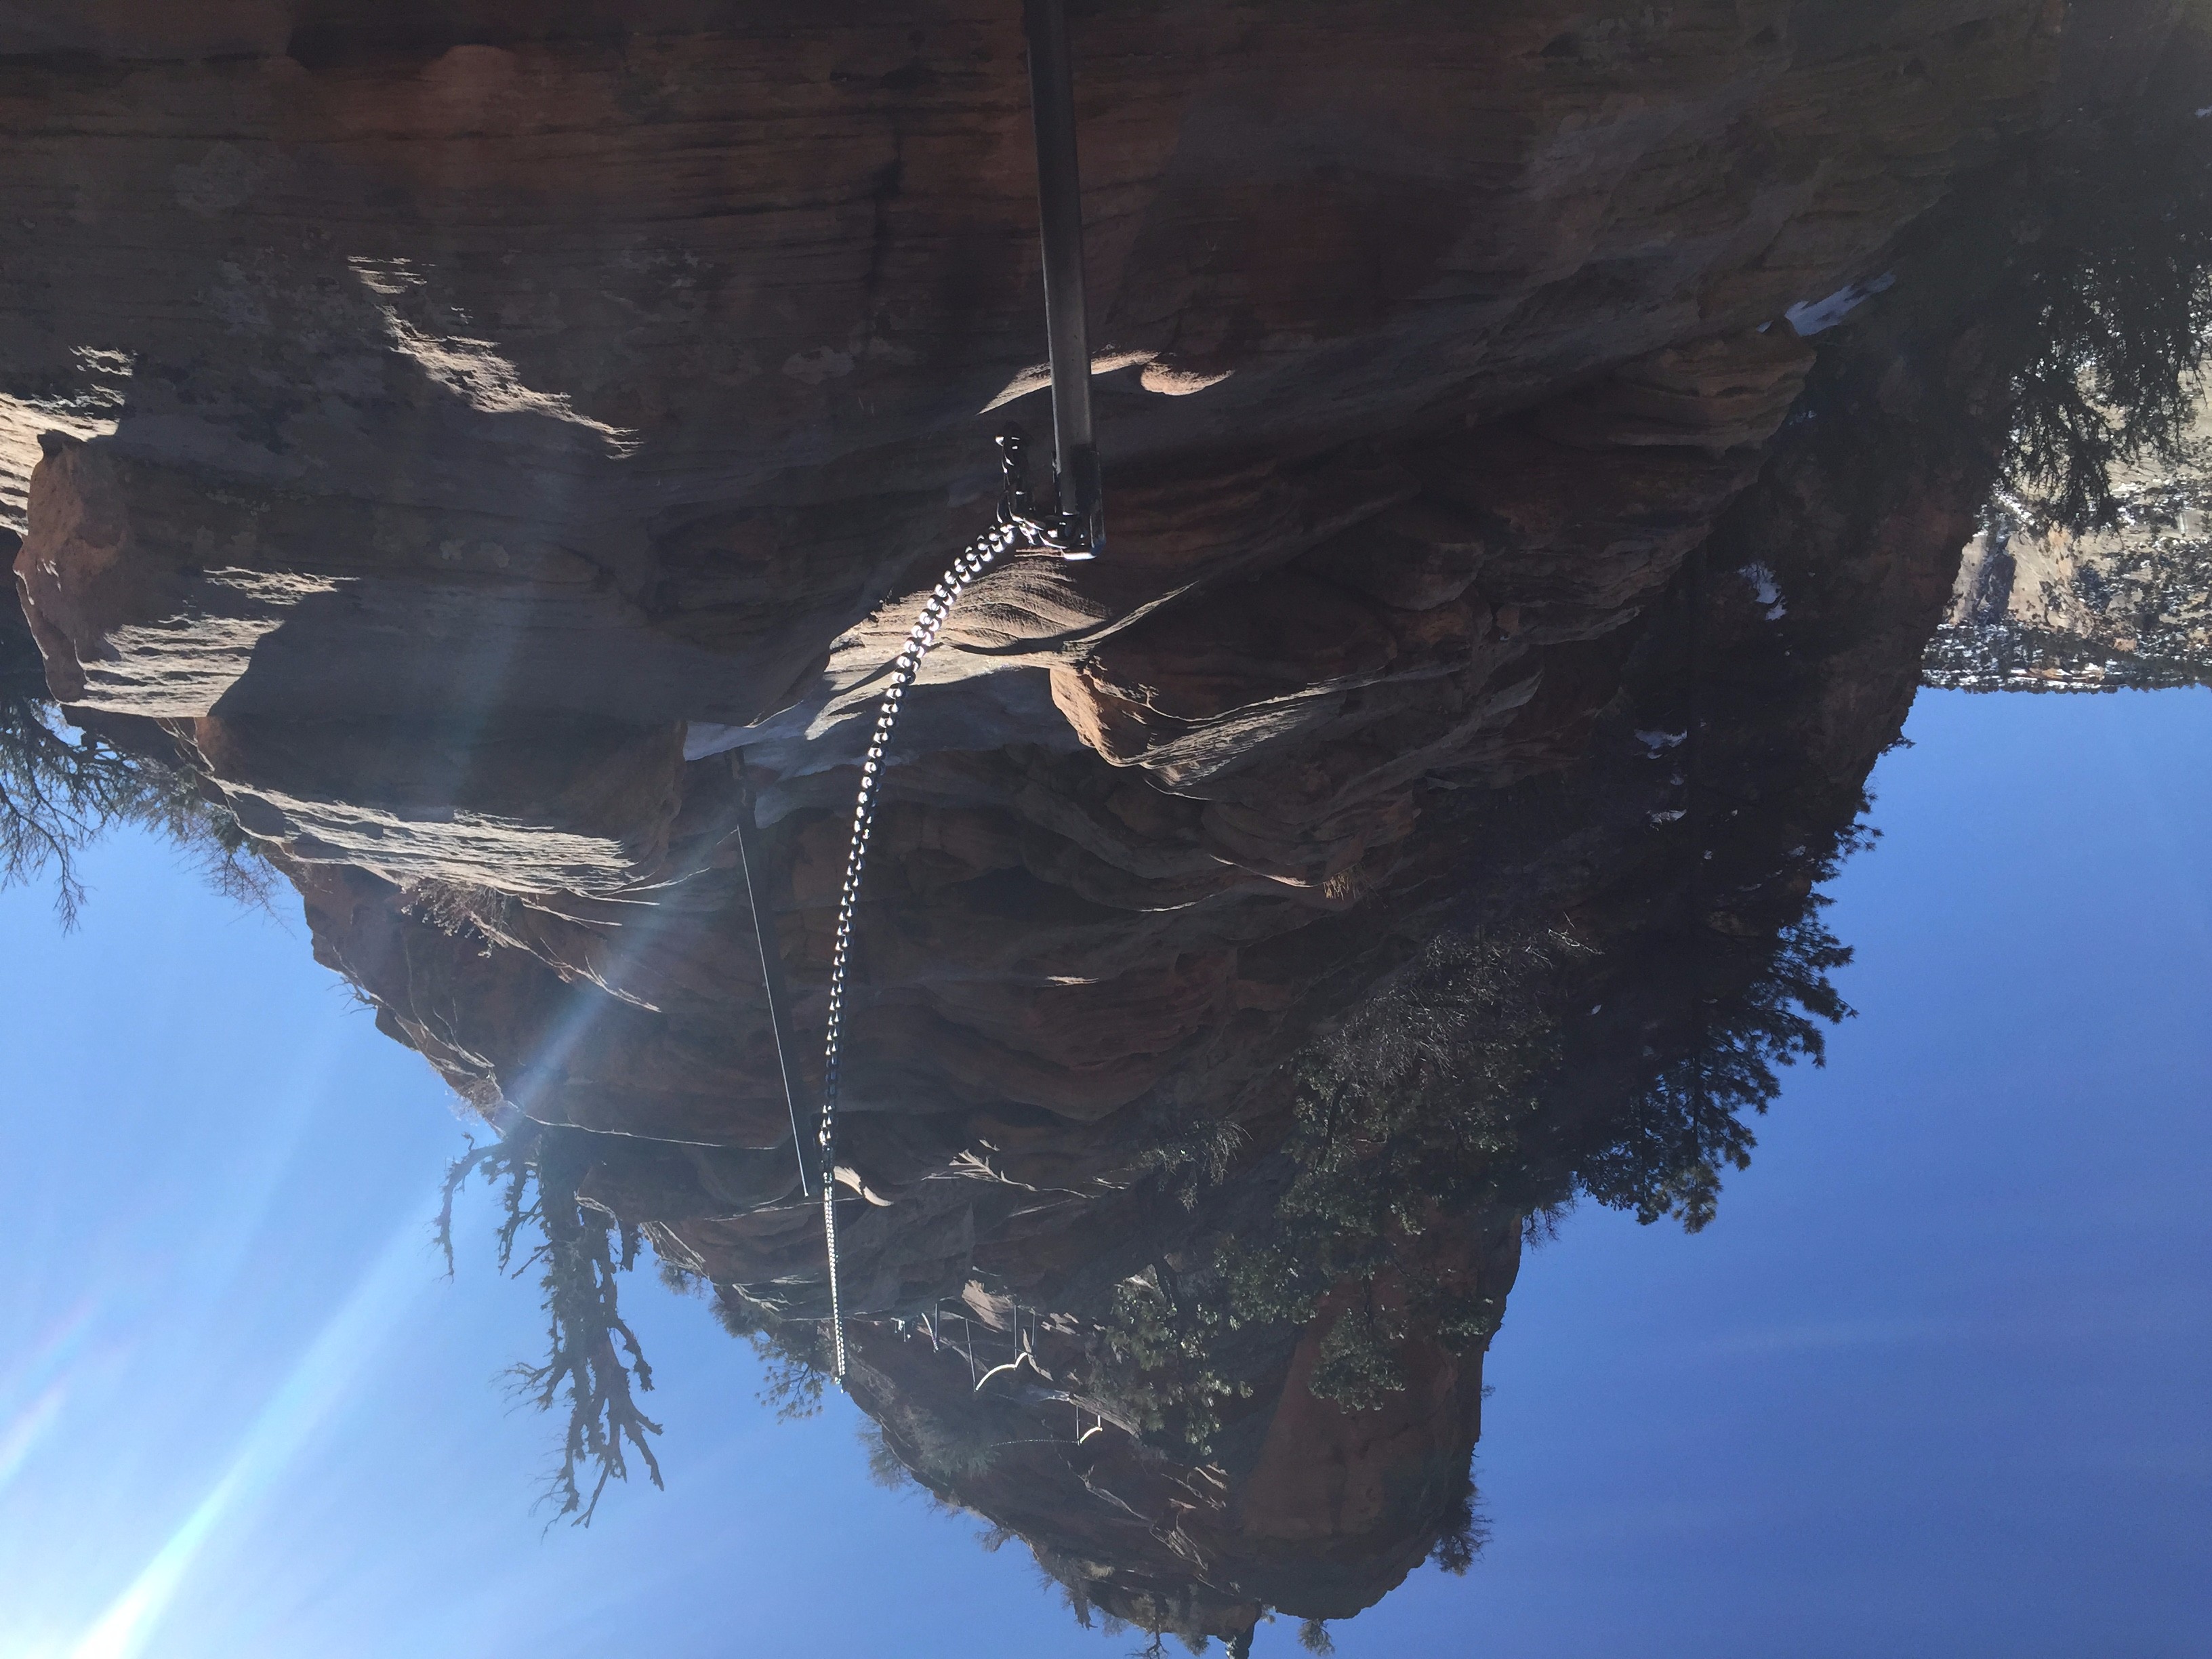
And then before you know it, you’re at the summit! Why is it called Angels Landing? While exploring Zion in 1916, Frederick Fisher said it was so high up that “only an angel could land on it,” so perhaps I should have a halo.
Be careful on your way back, as you will feel like the dangerous parts are nothing since you are on an adrenaline high. Make sure to take the same amount of caution as you did coming in.
Tips for Hiking Angels Landing
- Wear Hiking Shoes: you will want something with good grip since some of the rocks are steep and slippery, even when dry. I have these North Face ones in pink/brown and I love them.
- Crampons: if you are going in the winter/spring, there could be ice or snow at the top. Find cheap ones here.
- Avoid going in the winter, as snow and ice makes this hike far more dangerous (do as I say, not as I do)
- Don’t death grip or hang on the chains, use them as a guide or just in case of an emergency. Hike as you normally would by balancing on your feet while holding the chains.
- Don’t try to pass people. Be patient.
- We know you want a cool instagram photo, but avoid being too close to the edge. Several people who have died on this Trail were experienced hikers.
1 thought on “Hiking Angels Landing: Zion National Park”